Prometheus部署
环境部署
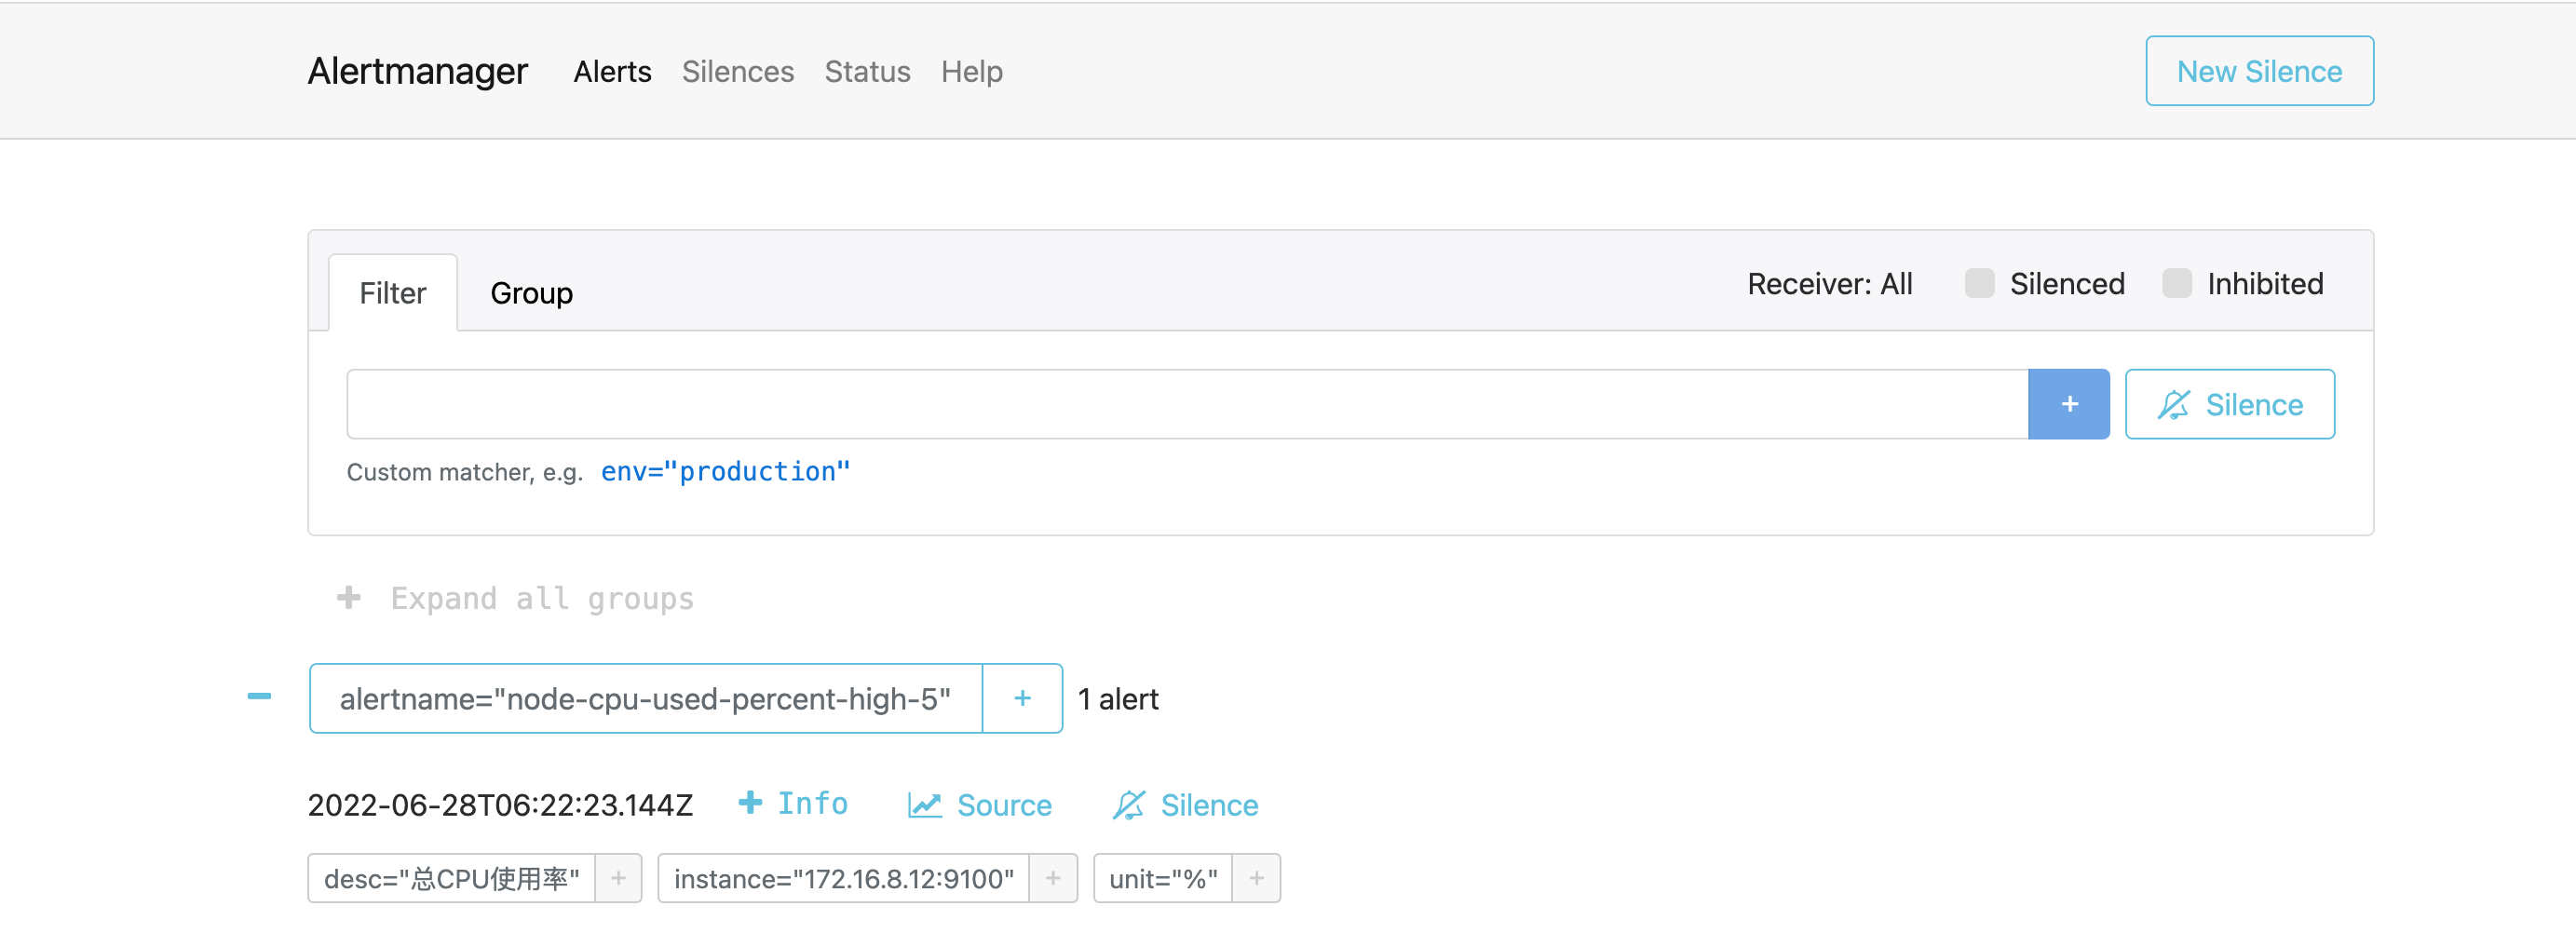
最终效果:
prometheus实现动态发现,根据记录规则,报警规则配置告警,实现发送消息以及触发恢复。
部署 prometheus server
## 获取 prometheus-server
wget https://github.com/prometheus/prometheus/releases/download/v2.36.2/prometheus-2.36.2.linux-amd64.tar.gz
tar -zxf prometheus-2.36.2.linux-amd64.tar.gz

## 查看了一下目录结构,我们需要用到的就是 prometheus、prometheus.yml
tree
.
├── console_libraries
│   ├── menu.lib
│   └── prom.lib
├── consoles
│   ├── index.html.example
│   ├── node-cpu.html
│   ├── node-disk.html
│   ├── node.html
│   ├── node-overview.html
│   ├── prometheus.html
│   └── prometheus-overview.html
├── LICENSE
├── NOTICE
├── prometheus
├── prometheus.yml
└── promtool

## 查看一下 prometheus.yml 文件发现格式是 yaml
cat prometheus.yml
## 此处是全部配置,一般会全局配置 pull 时间间隔,timeout 时间间隔,push 给 alertmanager 时间间隔
global:
  scrape_interval: 15s ## pull 时间默认15s
  evaluation_interval: 15s ## push 给 alertmanager 时间默认15s
alerting:
  alertmanagers:
    - static_configs:
        - targets:
          # - alertmanager:9093 ## 告警服务

## 规则有两种: 记录规则和报警规则
## 记录规则只记录表达式并且提供查询数据
## 报警规则可以根据记录规则制定阈值告警
rule_files:
  # - "first_rules.yml"   ## 告警规则

## 抓取配置有两种:静态配置和动态发现
## 静态配置就是需要关闭 server 后配置配置文件再重启 server
## 动态发现
scrape_configs:
  - job_name: "prometheus"
    # metrics_path defaults to '/metrics'
    # scheme defaults to 'http'.
    static_configs:
      - targets: ["localhost:9090"]

## 可以配置 systemd 管理
cp prometheus /usr/local/bin/prometheus
mkdir /etc/prometheus
cp prometheus.yml /etc/prometheus

cat /etc/systemd/system/prometheus-server.service
[Unit]
Description=prometheus  service
Documentation=https://prometheus.io
After=network.target

[Service]
Type=simple
User=root
Group=root
ExecStart=/usr/local/bin/prometheus --config.file=/etc/prometheus/prometheus.yml
Restart=on-failure

[Install]
WantedBy=multi-user.target

systemctl start prometheus-server.service
systemctl enable prometheus-server.service
部署consul
## 部署 consul
sudo yum install -y yum-utils
sudo yum-config-manager --add-repo https://rpm.releases.hashicorp.com/RHEL/hashicorp.repo
sudo yum -y install consul
## 可以配置 systemd 管理
[root@master system]# cat consul-server.service
[Unit]
Description="HashiCorp Consul - A service mesh solution"
Documentation=https://www.consul.io/
Requires=network-online.target
After=network-online.target
[Service]
Type=exec
#User=consul
#Group=consul
ExecStart=/usr/bin/consul agent -dev -client 0.0.0.0 -config-dir=/etc/consul.d/
ExecReload=/usr/bin/consul reload
KillMode=process
Restart=on-failure
LimitNOFILE=65536
TimeoutSec=900
[Install]
WantedBy=multi-user.target
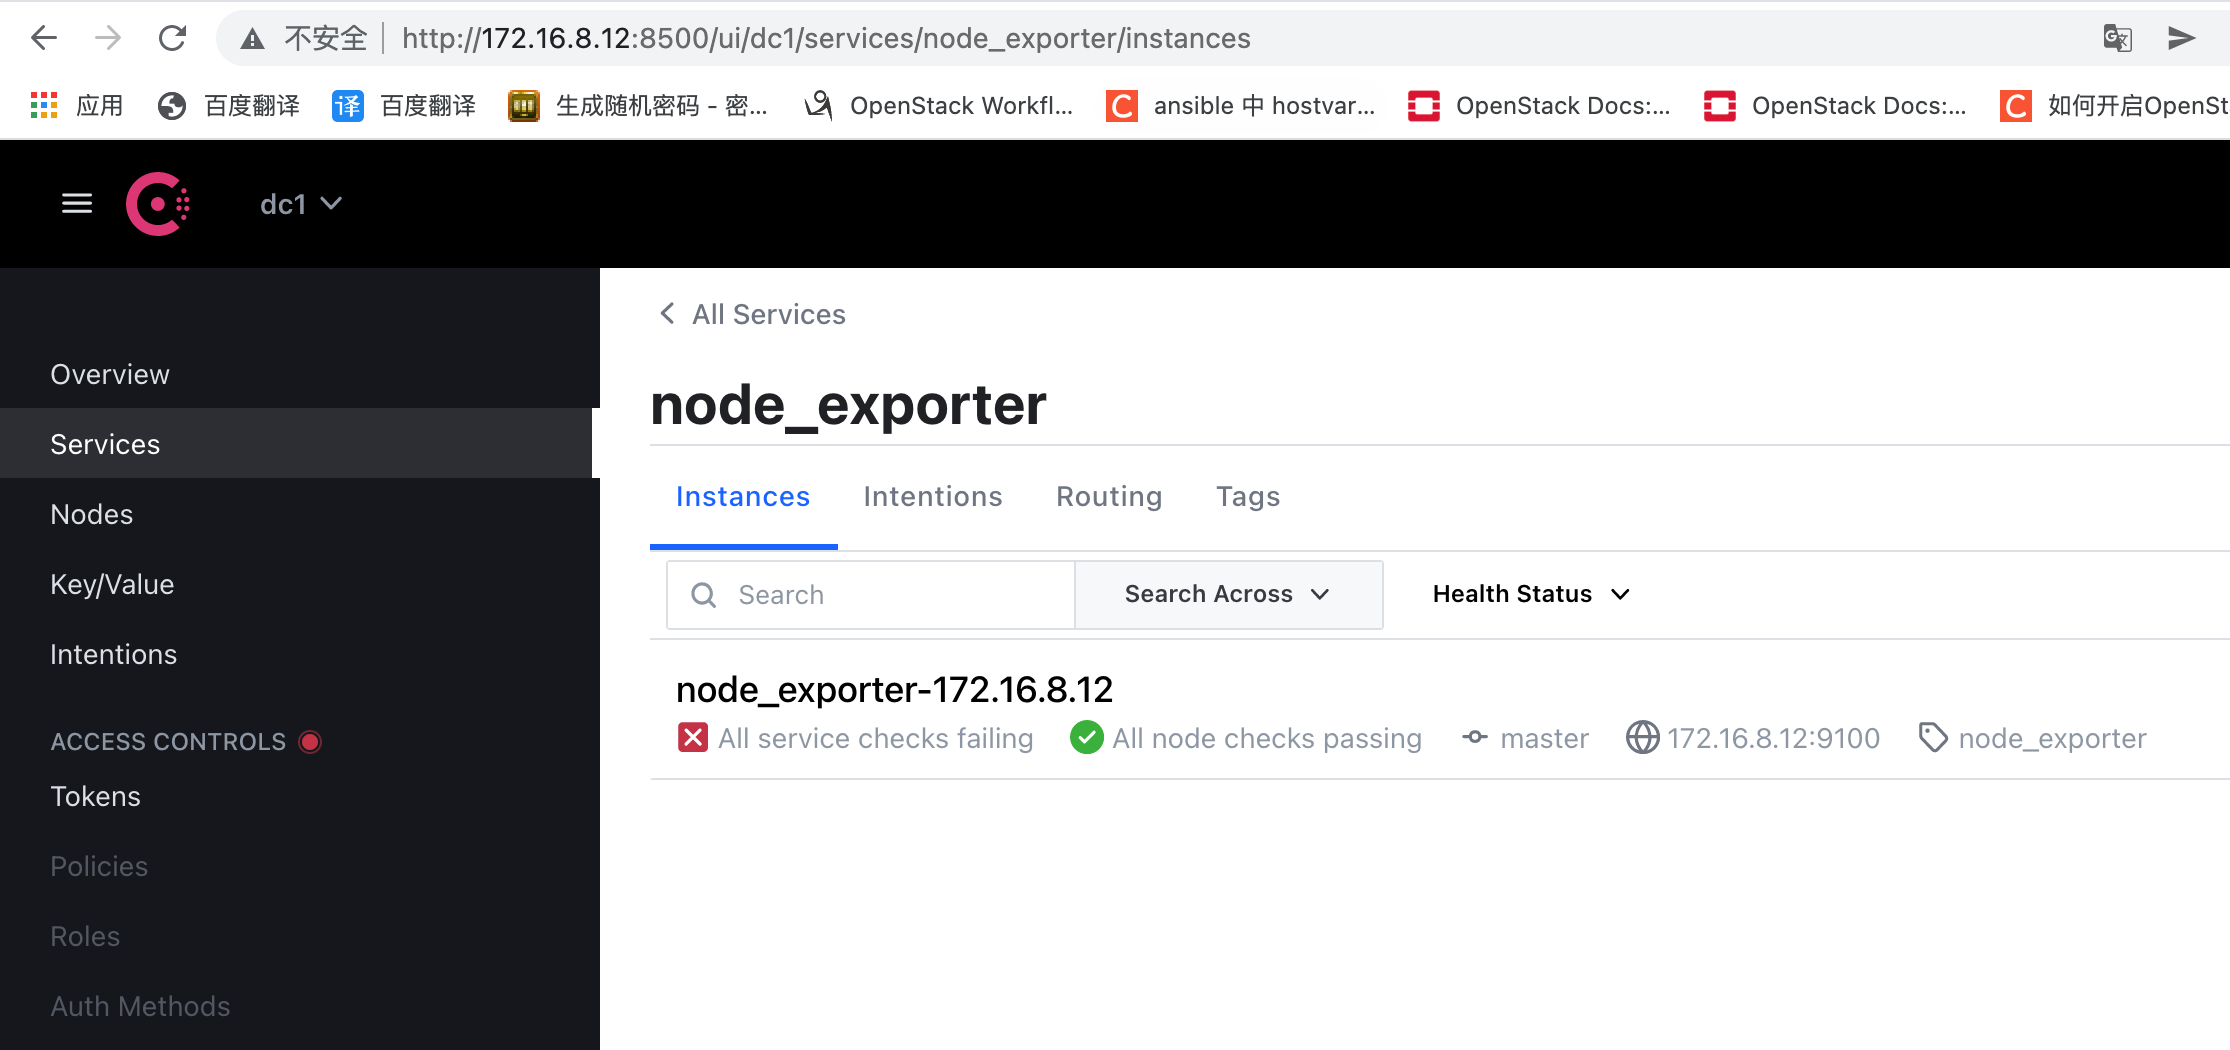
systemctl start consul-server
systemctl enable consul-server
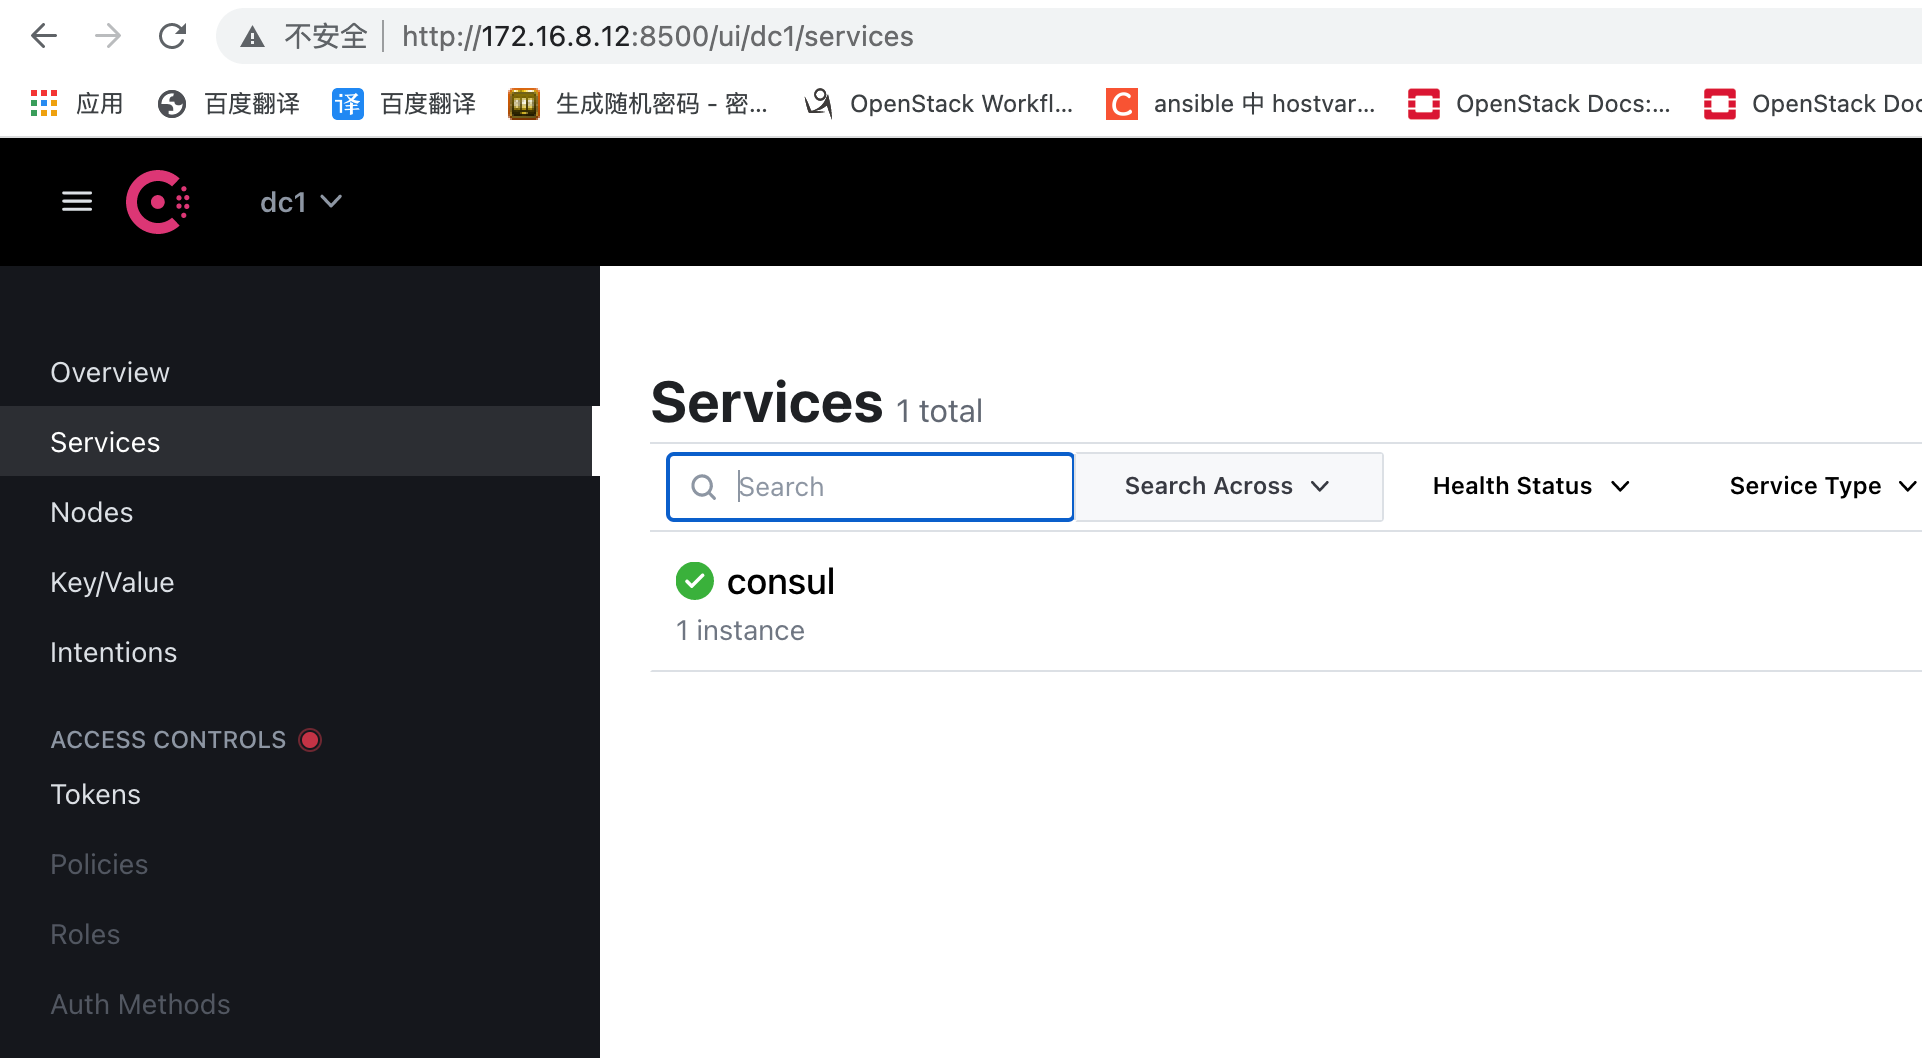
从图片可以看出 consul 上没有注册机器,可以通过 api 进行动态注册与删除
## 注册
PUT http://172.16.8.12:8500/v1/agent/service/register

{
  "id": "node_exporter-172.16.8.12",
  "name": "node_exporter",
  "address": "172.16.8.12",
  "port": 9100,
  "tags": [
    "node_exporter"
  ],
  "meta": {
    "metrics_path": "/metrics"
  },
  "checks": [
    {
      "http": "http://172.16.8.12:9100/metrics",
      "interval": "60s"
    }
  ]
}

## 删除
PUT http://172.16.8.12:8500/v1/agent/service/deregister/node_exporter-172.16.8.12

对接 consul
## prometheus.yml 的 scrape_configs 部分对接 consul 实现动态发现
- job_name: "node_exporter"
    ## consul_sd_configs 是系统规定的。
    consul_sd_configs:
      - server: "172.16.8.12:8500"
    relabel_configs:
      ## 根据标签进行了一些配置
      - action: drop
        source_labels: ["__address__"]
        regex: "127.0.0.1:8300"
      - action: keep
        source_labels: ["__meta_consul_tags"]
        regex: "(.*)node_exporter(.*)"
      - source_labels: ["__meta_consul_service_metadata_metrics_path"]
        target_label: "__metrics_path__"

## 静态文件配置好后需要重启服务
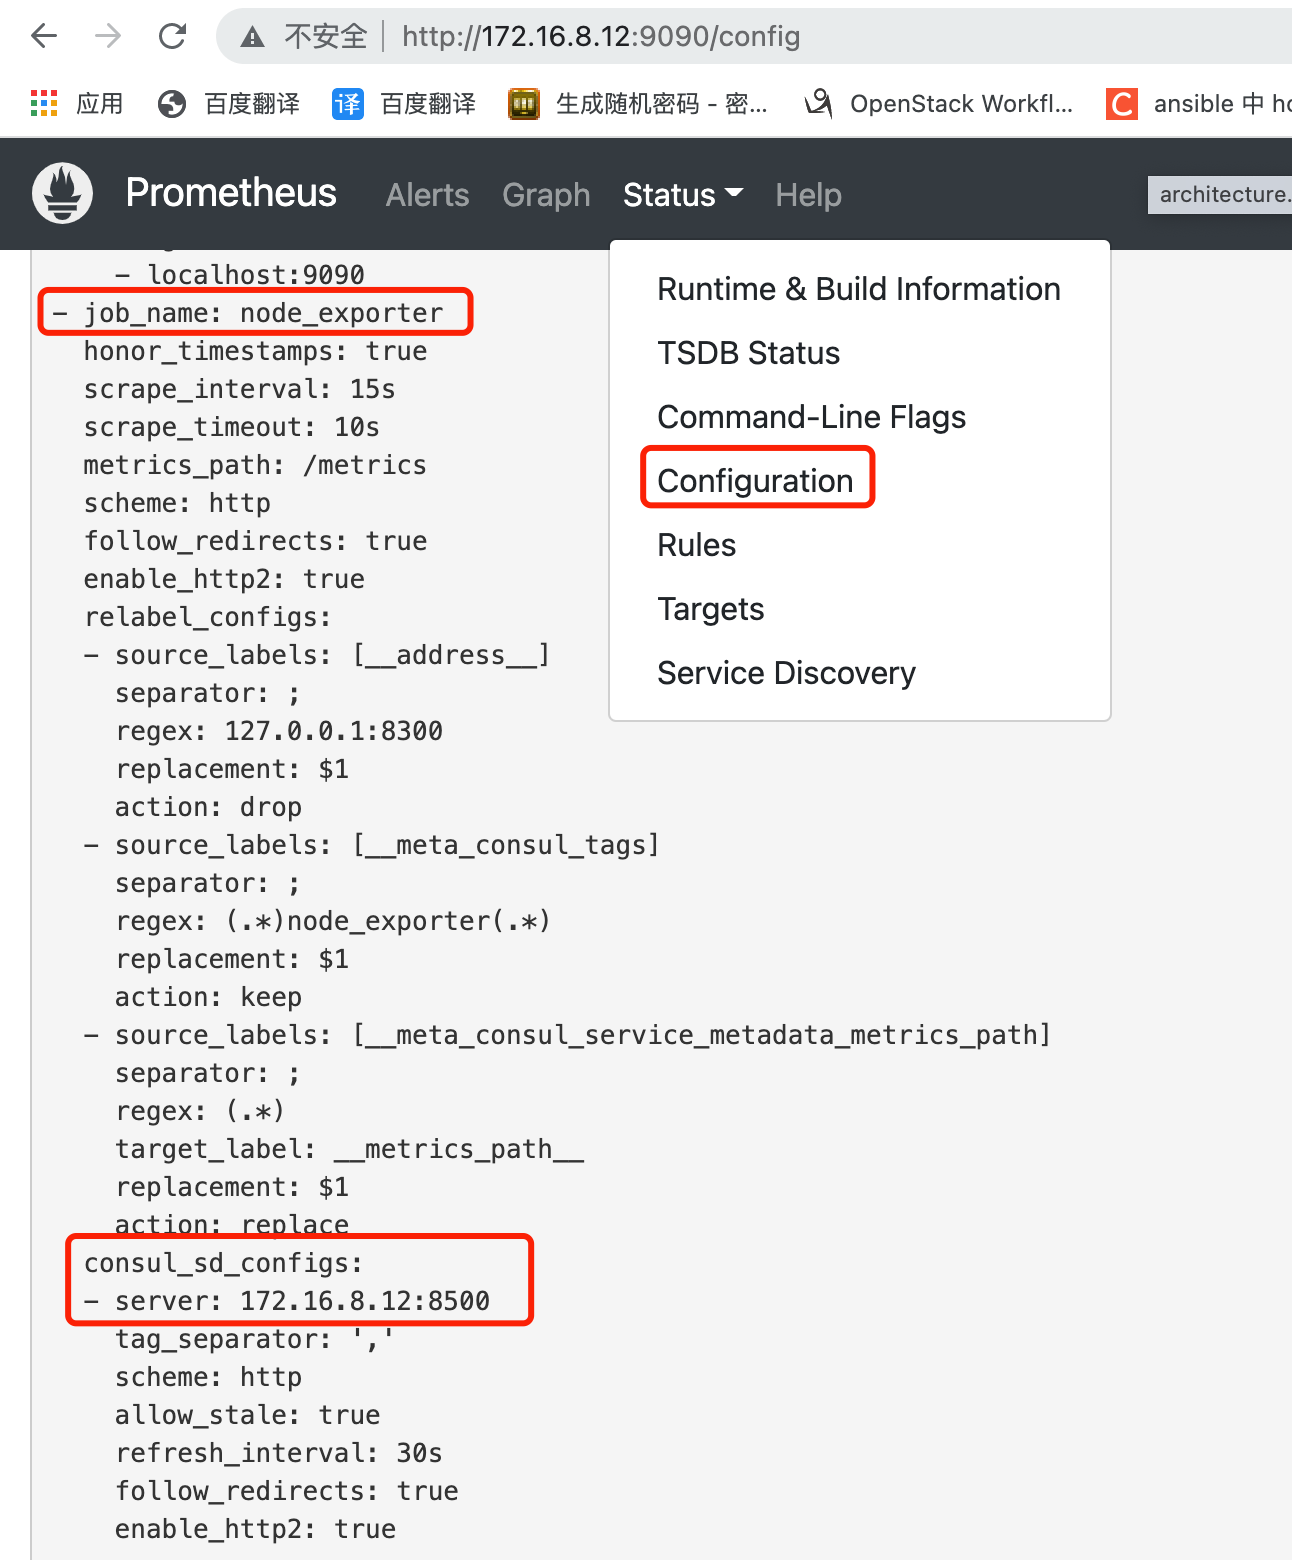
prometheus 对接 consul 后可以通过 UI 页面的 configuration 查看是否已经配置成功,如果这时通过 consul 注册进虚拟机,那么 prometheus 就会动态发现
部署 node_exporter
wget https://github.com/prometheus/node_exporter/releases/download/v1.3.1/node_exporter-1.3.1.linux-amd64.tar.gz
tar -zxf node_exporter-1.3.1.linux-amd64.tar.gz
## node_exporter 是一个二进制文件,默认只需要 ./node_exporter 就可以启动,如果有特殊需求可以 -h 查看
tree
.
├── LICENSE
├── node_exporter
└── NOTICE
cp node_exporter /usr/local/bin/node_exporter

## 可以配置 systemd 管理
cat /etc/systemd/system/node_exporter.service
[Unit]
Description=node exporter service
Documentation=https://prometheus.io
After=network.target

[Service]
Type=simple
User=root
Group=root
ExecStart=/usr/local/bin/node_exporter
Restart=on-failure

[Install]
WantedBy=multi-user.target

systemctl start node_exporter
systemctl enable node_exporter

## 上面全部步骤完成后在 prometheus 里就可以动态新增或删除被监控的目标机器 target
现在对接报警
部署 AlertManager
wget https://github.com/prometheus/alertmanager/releases/download/v0.24.0/alertmanager-0.24.0.linux-amd64.tar.gz
tar -zxf alertmanager-0.24.0.linux-amd64.tar.gz
## alertmanager 也是二进制文件,默认只需要 ./alertmanager 就可以启动,如果有特殊需求可以修改 alertmanager.yml
tree
.
├── alertmanager
├── alertmanager.yml
├── amtool
├── LICENSE
└── NOTICE

cp alertmanager /usr/local/bin/alertmanager
cp alertmanager.yml  /etc/prometheus/
## 查看一下 alertmanager.yml 文件发现格式是 yaml
cat alertmanager.yml
## 组可以有多种,接收器也可以有多种
route:
  group_by: ['alertname']
  group_wait: 30s
  group_interval: 5m
  repeat_interval: 1h
  receiver: 'web.hook'
## 接收器也可选择 webhook、email等等。
receivers:
  - name: 'web.hook'
    webhook_configs:
      - url: 'http://127.0.0.1:5001/'
inhibit_rules:
  - source_match:
      severity: 'critical'
    target_match:
      severity: 'warning'
    equal: ['alertname', 'dev', 'instance']

## 可以配置 systemd 管理
cat /etc/systemd/system/alertmanager.service
[Unit]
Description=alertmanager
Documentation=https://prometheus.io
After=network.target

[Service]
Type=simple
User=root
Group=root
ExecStart=/usr/local/bin/alertmanager --config.file=/etc/prometheus/alertmanager.yml
Restart=on-failure

[Install]
WantedBy=multi-user.target

systemctl start alertmanager.service
systemctl enable alertmanager.service
报警器已经部署完成了,监控指标也有了,现在可以设置规则使 prometheus 接收到报警后发送消息给报警器
配置 rule
## 查看 prometheus 配置文件,规则还没有配置,根据我们的规则文件名进行配置。
cat /etc/prometheus.yml
...
rule_files:
  # - "first_rules.yml"
  # - "second_rules.yml"
  - "/etc/prometheus/node-exporter-record-rules.yml"
  - "/etc/prometheus/node-exporter-alert-rules.yml"
...

## 先配置记录规则,目的是给表达式重命名以及获取指标
## 此时如果报警规则配对,那么 Prometheus UI 的 Alert 部分就会出现规则,出现规则后在配置报警器,把报警发送给报警器
cat prometheus.yml
···
alerting:
  ## 配置一下报警器
  alertmanagers:
    - static_configs:
        - targets: ['localhost:9093']
···
规则
node-exporter-record-rules.yml
配置了报警后,Prometheus 页面 Alert 部分就会看见告警规则
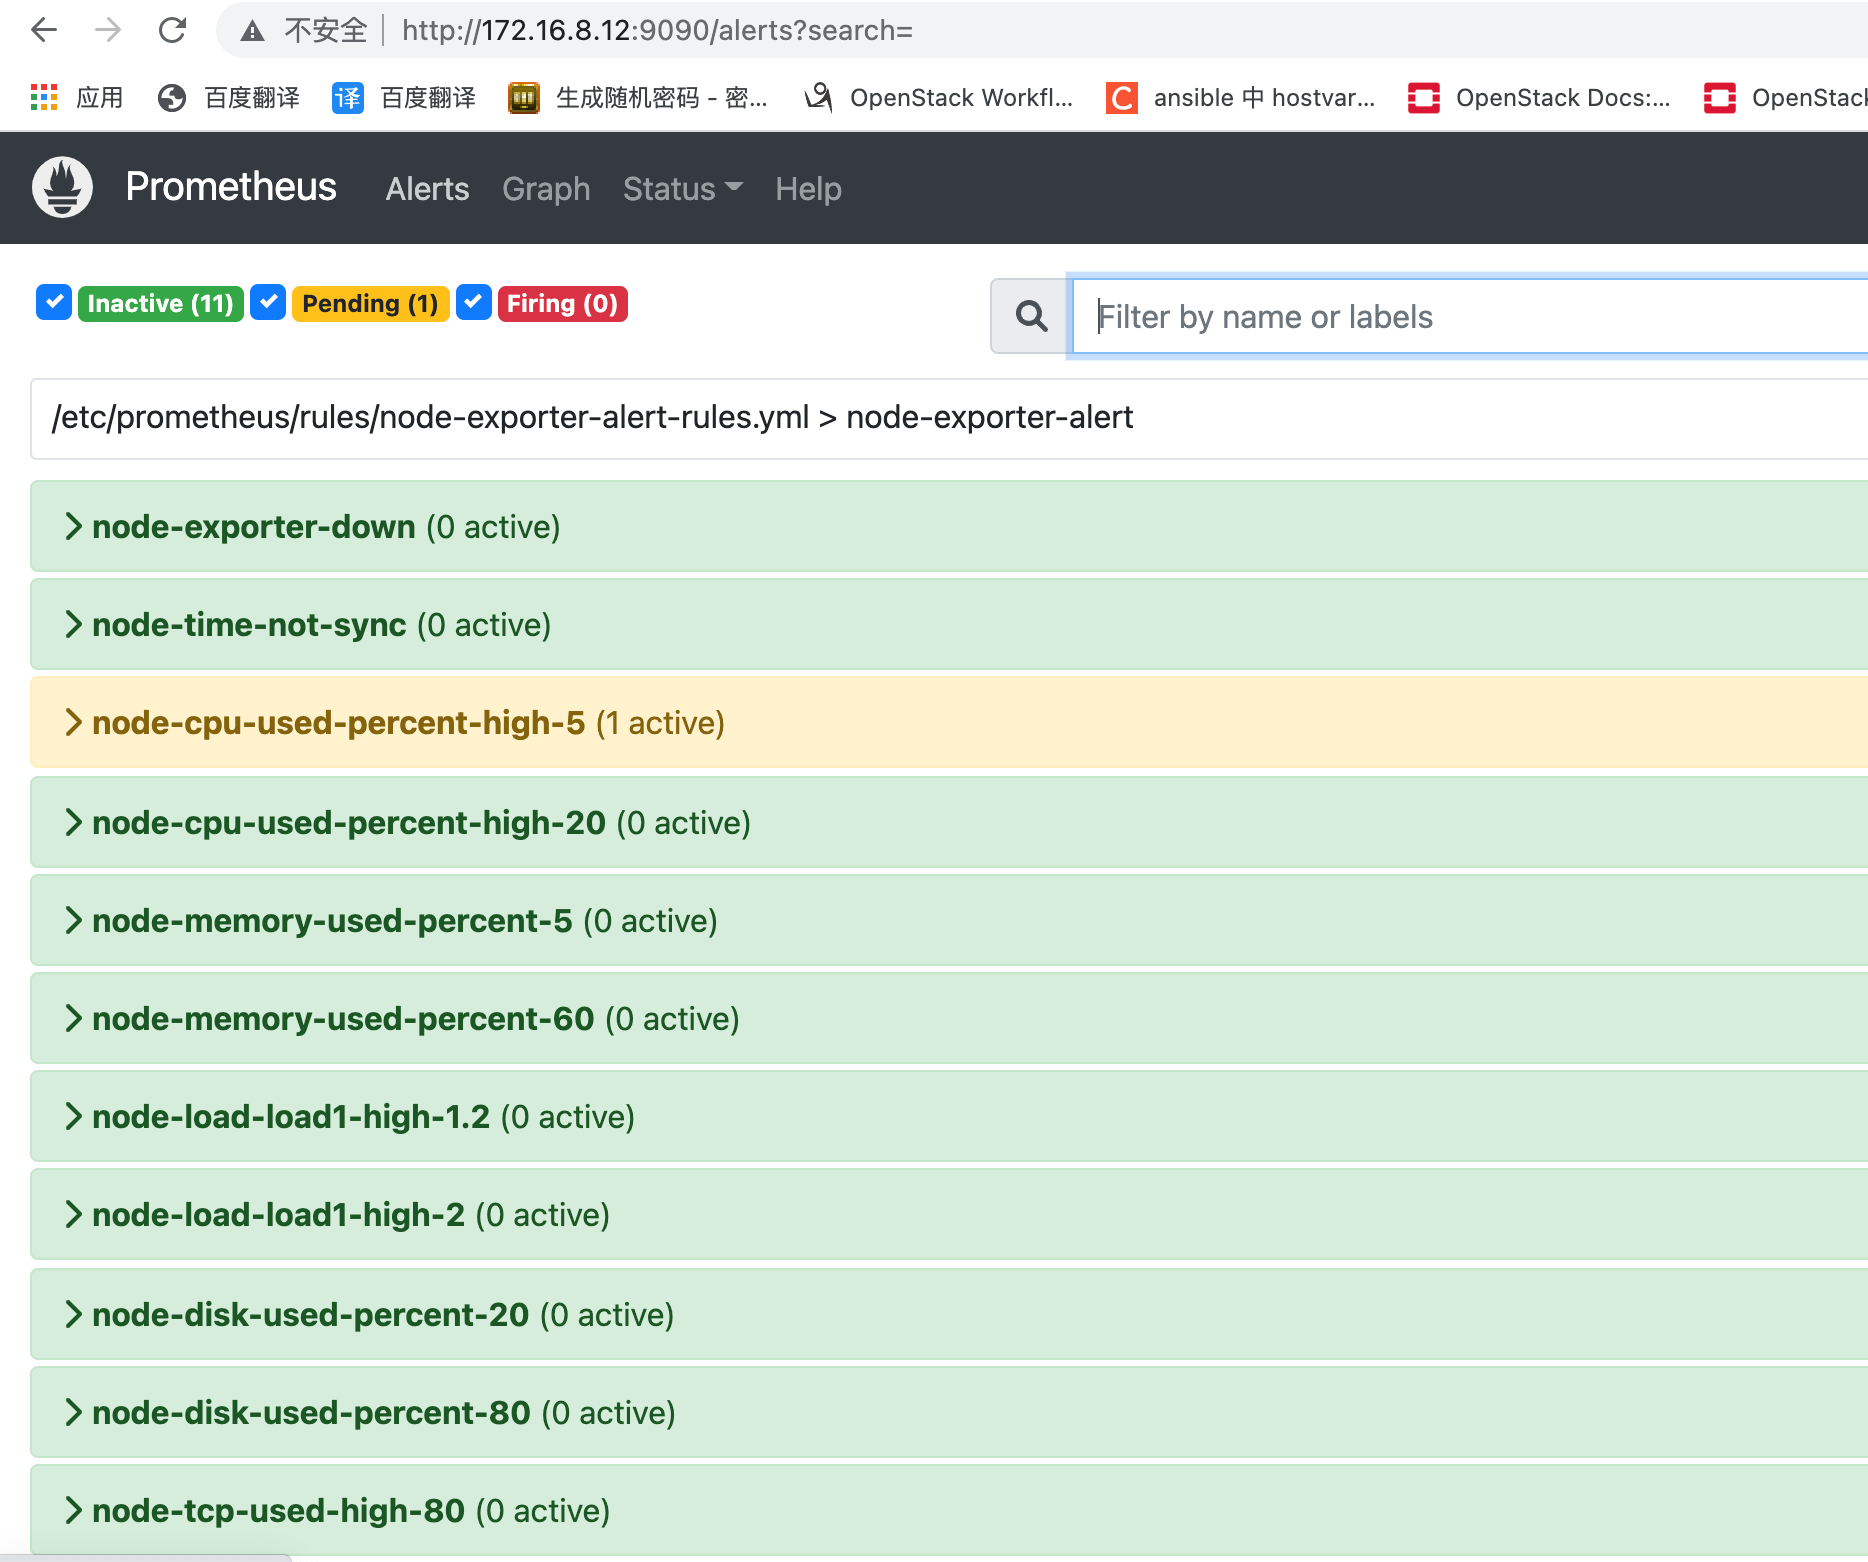
如果触发了报警后 Prometheus 就会把报警发送给 AlertManager,此时可以根据需求配置 Alertmanager,制定发送消息次数、发送消息格式、发送目标等
